Repairing Vintage Hi-Fi
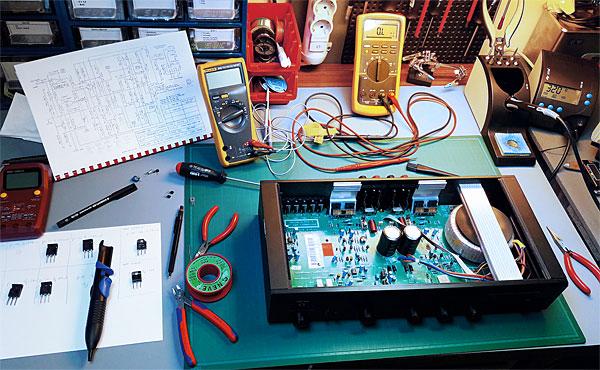
In the early days of hi-fi it was common to make one's own equipment, either as an economy measure or as a matter of pride. Today's equivalent may be repairing and restoring vintage hi-fi units at home, a potentially rewarding endeavour which can make the subsequent listening even more satisfying.
The ability to repair hi-fi kit to the highest standard is one of those 10,000 hour skills that takes commitment to master, but it is surprising what can be done with just a little patience and study.
Avoiding Mistakes
A basic grounding in electronics will be required, such as the ability to read a circuit diagram and an appreciation of what the various types of component do. You'll also need a full understanding of the potential dangers of mains-powered equipment and how to use your tools safely and effectively. There are simply no shortcuts in this preparation and you will get nowhere without it.
The next step is to choose what you are going to practice on. Don't make your first mistakes on equipment that is valuable, either in sentimental or financial terms. The world is full of broken hi-fi kit and there's plenty to hone your skills on.
In choosing what to buy (or allow yourself to be given, because a lot of this stuff is free) I would recommend starting with Japanese and Continental components from the mid '70s to the mid '80s. It is ubiquitous, generally safe and solid, free of designed-in faults and quirks and normally has comprehensive service data available for it.

A library of service sheets used to be jealously guarded by any workshop that had the resources to amass it, but now full manuals can be downloaded from a number of sources, usually free of charge.
Condition is another factor to consider. Mint examples would be an extravagance at this stage, but it is worth seeking out pieces that are at least complete and not obviously the result of someone else's failed repair or upgrade attempts.
An advantage of equipment of this era is that as a rule it does not require the blanket replacement of components to restore original performance. This approach is sometimes necessary in older models but it makes every repair tedious, expensive and one learns nothing from it. There is currently a fad for replacing every electrolytic capacitor in sight, regardless of the fault. This rarely solves the problem and can introduce many more if the replacements are the wrong type or fitted incorrectly.
That being said, you will soon learn to identify which components are often defective, and be able to make a bee-line for them once they are spotted.
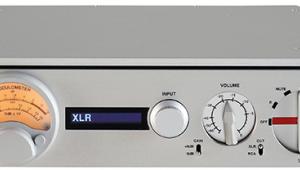
Amplifier Faults
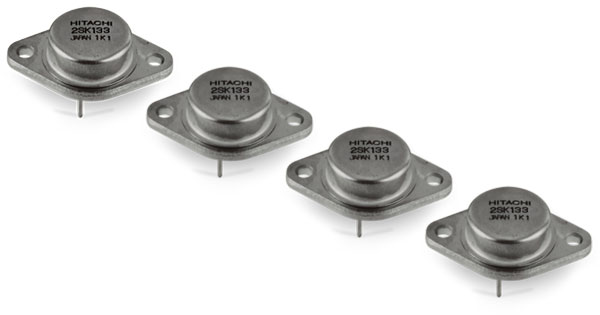
The key components in any amplifier are the output transistors, be they discrete or in a chip. Blown fuses almost always mean output transistor trouble so check them for shorts before replacing the fuses or applying power. With transistor amplifiers, never connect the loudspeakers until you are sure the output stage is sound, eg, there isn't a substantial DC voltage present at the loudspeaker terminals.
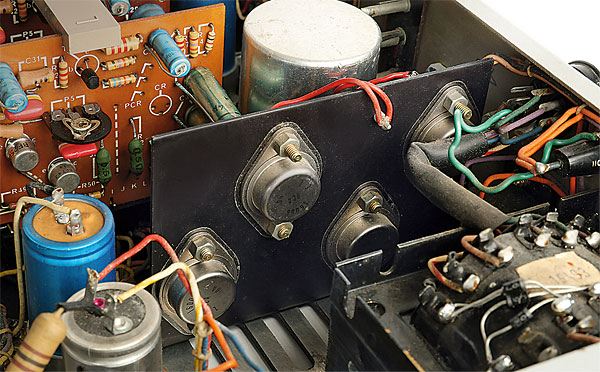
Most amplifiers have a 'mid point' connection between the two output transistors from where the output signal is taken. This should be at roughly half the supply voltage in designs with a single power rail and at zero volts for those which run from split supplies. If this is not the case find out why before continuing. Usually a defective transistor or leaky diode is the root cause but other components may have been damaged as a result. If only one channel seems to be affected use the other to take reference readings from, but be careful not to blow that one up as well!
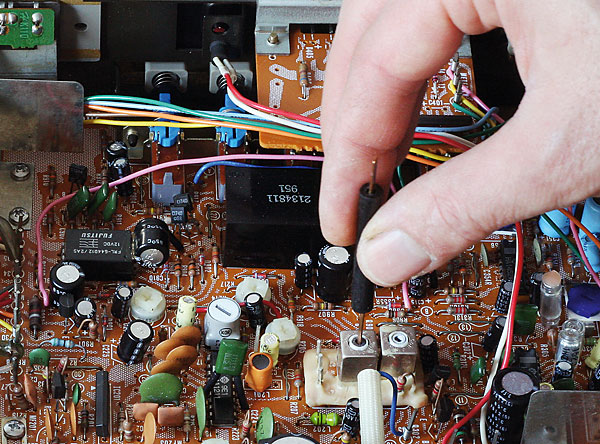
Source or monitor switches that are noisy, dirty protection relay contacts and missing pre/power amp links cause many amplifier malfunctions, so check the simple things like these, first. Many amplifiers have pre-set controls for output stage bias and offset balance. These are fine adjustments that will tend to drift with age and so it is always worth checking that they are correct.
In the absence of the maker's data the following procedure can be used. With the speakers disconnected, connect a voltmeter across one of the emitter resistors of the output transistors. Adjust the bias control for 10mV, then re-check (and reset if necessary) after ten minutes. After this, adjust the offset for zero volts (or half the rail voltage for single-supply designs) at the midpoint and repeat the process for the other channel. This will be close enough to the maker's specification for most models to obtain good performance along with reliable operation.
FM Tuners
These are the most reliable of vintage hi-fi components and most faults tend to be trivial: blown bulbs, broken drive cords, noisy switches and the like. A more complex but common problem is an inability of the tuner to 'lock' onto a broadcast, usually with the result that the sound is muted when stereo reception is selected, the stereo decoder doesn't work or the digital frequency display is incorrect by a small amount, say 0.5MHz. This is often due to the discriminator coil, which forms part of the detector circuit, being in need of adjustment.
|
| |||||||||


| Equipment Reviews | Music Reviews Awards | Latest News Features | Resources Newsletters | Subscriptions |
WHERE TECHNOLOGY BECOMES ENTERTAINMENT
 © 2026 Hi-Fi News
AVTech Media Ltd
All rights reserved